Master Ghost Face Drawing Techniques
Learn advanced techniques for drawing realistic ghost faces with detailed expressions, shadows, and professional-quality results.Detailed Techniques • Professional Results • Perfect for Art Students
Art Students
Per Drawing
Skill Level
Detailed Guide
6-Step Professional Ghost Face Drawing Process
Map the Face Structure
FoundationStart with basic face proportions and guidelines
Draw a circle for the head, then add a vertical line down the middle and horizontal lines for the eyes, nose, and mouth. This gives you a good foundation to work with.
Step 1: Map the Face Structure
Shape the Ghost Face Outline
BasicCreate the distinctive ghostly face shape
Make the face slightly elongated and add subtle curves. Ghost faces are usually thinner than regular faces, with more pronounced cheekbones and jawlines.
Step 2: Shape the Ghost Face Outline
Design Expressive Eyes
IntermediateMaster different eye styles for various emotions
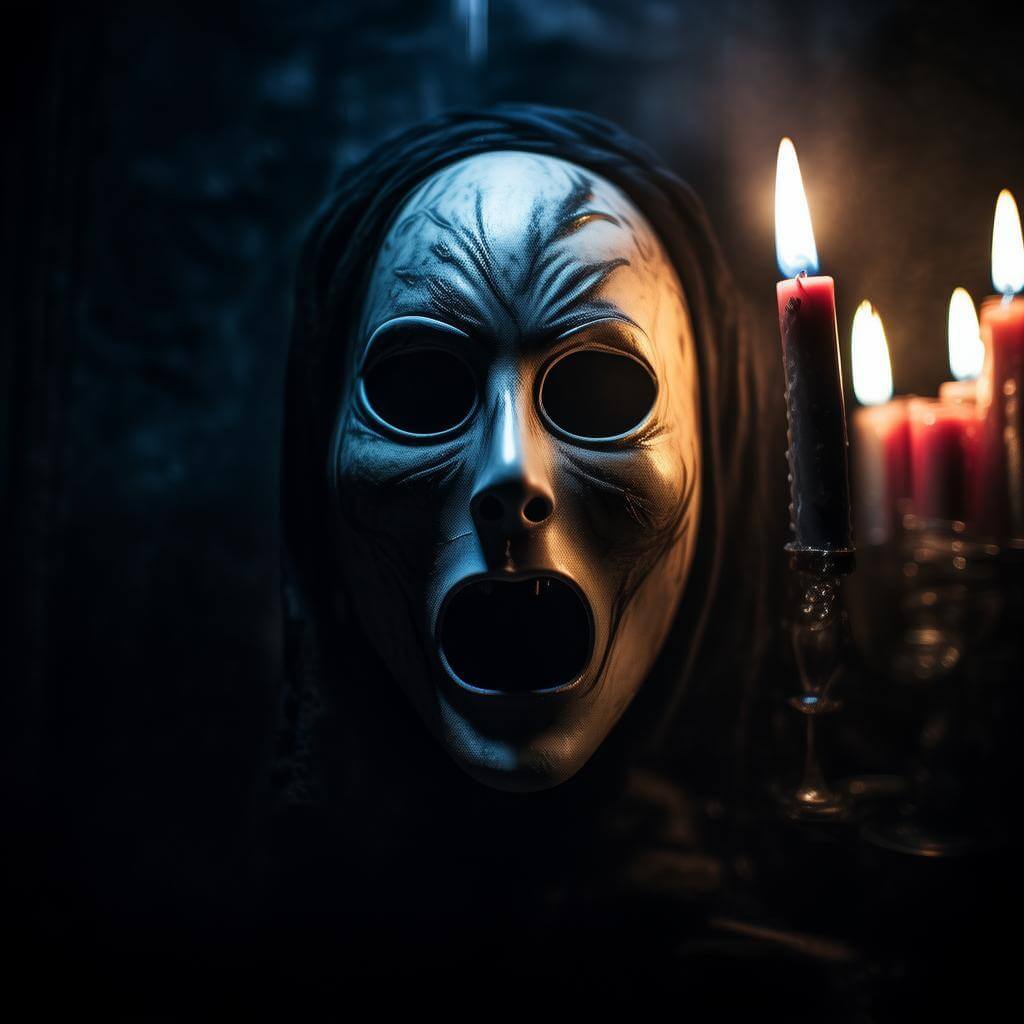
Ghost eyes can be hollow, glowing, or deeply shadowed. Practice drawing different shapes - round for innocent, narrow for menacing, or completely black for mysterious.
Step 3: Design Expressive Eyes
Perfect the Mouth Expression
IntermediateCreate compelling facial expressions through mouth details
The mouth shows the ghost's personality. Draw thin lines for neutral expressions, open mouths for surprise or screaming, or subtle curves for mysterious smiles.
Step 4: Perfect the Mouth Expression
Add Shadows and Depth
AdvancedUse shading techniques to make the face look three-dimensional
Add shadows under the eyes, around the cheekbones, and along the jawline. This makes your ghost face look more realistic and gives it that haunting appearance.
Step 5: Add Shadows and Depth
Final Details and Texture
AdvancedAdd finishing touches that bring your ghost face to life
Include subtle details like wrinkles, scars, or ethereal glow effects. These small additions make your drawing stand out and look professional.
Step 6: Final Details and Texture
Master Different Ghost Face Expressions
✨ Menacing Stare - Scary
Menacing StareScary
A ghost face that looks intimidating and threatening
Drawing Techniques:
- Draw narrow, focused eyes with heavy brows
- Make the mouth slightly open with visible tension
- Add deep shadows around the eye sockets
- Use sharp, angular features
✨ Sorrowful Spirit - Sad
Sorrowful SpiritSad
A ghost face showing deep sadness and melancholy
Drawing Techniques:
- Create drooping eyelids and downturned mouth
- Add tear marks or dark circles under eyes
- Make the overall face shape slightly drooped
- Use soft, curved lines instead of sharp angles

✨ Mysterious Phantom - Mysterious
Mysterious PhantomMysterious
An enigmatic ghost face that keeps viewers guessing
Drawing Techniques:
- Draw one eye hidden in shadow, one visible
- Create a subtle, knowing smile
- Add asymmetrical features for intrigue
- Use varying line weights for depth
✨ Anguished Soul - Tormented
Anguished SoulTormented
A ghost face showing intense emotional pain
Drawing Techniques:
- Draw wide, staring eyes with visible strain
- Create an open mouth as if screaming silently
- Add wrinkles and stress lines around features
- Use jagged, broken line work
Professional Ghost Face Drawing Tips
Study Real Face Anatomy
Understanding how real faces work helps you draw better ghost faces. Look at photos and notice how shadows fall naturally.
Practice Different Angles
Don't just draw front-facing ghosts. Try profile views, three-quarter angles, and looking up or down perspectives.
Use Reference Images
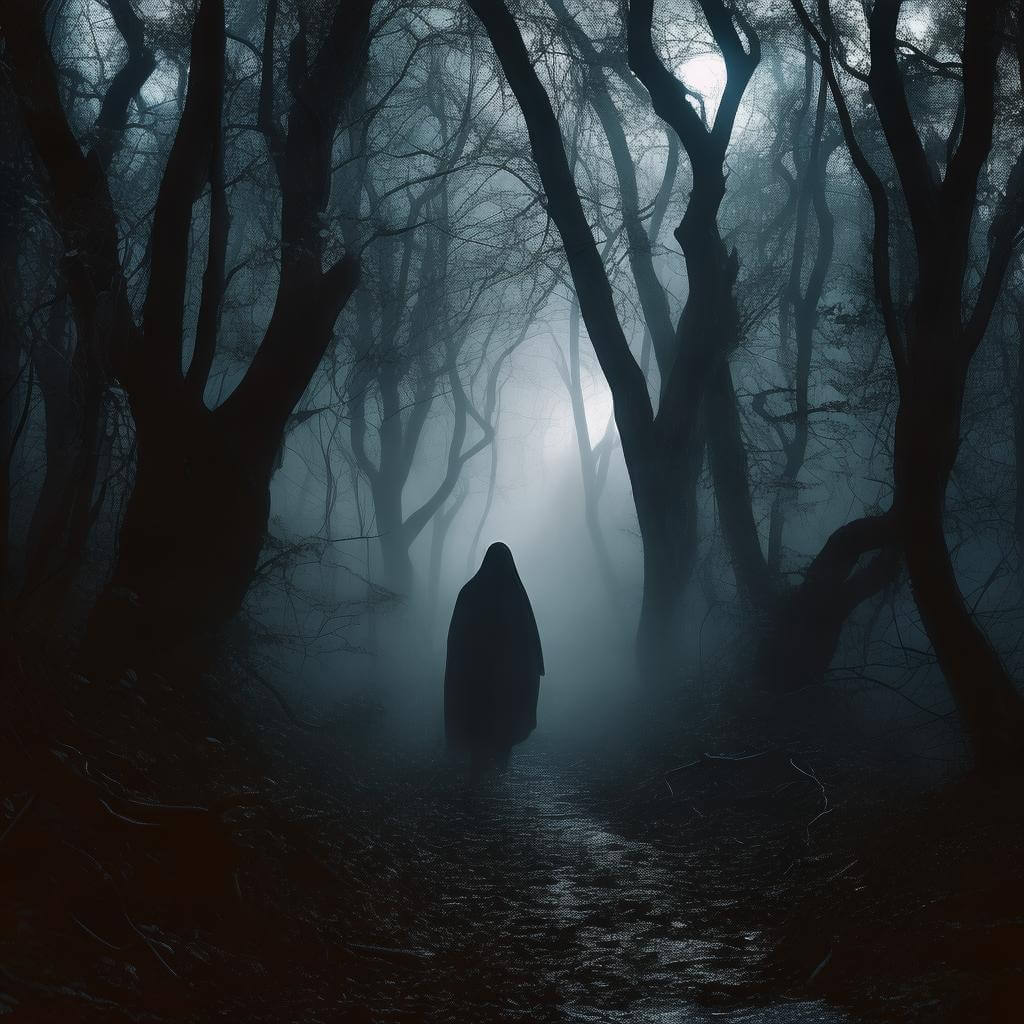
Look at horror movies, gothic art, and other ghost drawings for inspiration. Build a collection of references you like.
Master Light and Shadow
Good shading makes the difference between amateur and professional-looking art. Practice with different light sources.
Develop Your Own Style
Once you understand the basics, start experimenting. Create your own unique approach to drawing ghost faces.
Get Feedback from Others
Show your work to friends, family, or online art communities. Other people can spot things you might miss.
Avoid These Common Ghost Face Drawing Mistakes
Common Mistake:
Making eyes too symmetrical
Better Approach:
Real faces are not perfectly symmetrical. Make one eye slightly different from the other for more realistic results.
Common Mistake:
Forgetting about proportions
Better Approach:
Use the basic face proportion rules even for ghost faces. Eyes should be about one eye-width apart.
Common Mistake:
Using only black for shadows
Better Approach:
Try using dark blues, purples, or grays for shadows instead. This creates more interesting and realistic depth.
Common Mistake:
Making features too small
Better Approach:
Ghost faces often have exaggerated features. Don't be afraid to make eyes, mouth, or other details larger than normal.
Common Mistake:
Not considering the light source
Better Approach:
Decide where your light is coming from and stick to it. All shadows should be consistent with your light source.
Common Mistake:
Rushing the final details
Better Approach:
Take your time with the finishing touches. Small details like texture and subtle shading make a huge difference.
🎨 Not Ready to Draw? Try AI Ghost Face Generation
If drawing detailed ghost faces feels challenging, our AI can create professional-quality ghost faces instantly. Perfect for getting inspiration or creating final artwork.
Why Use AI for Ghost Faces:
- • Get perfect proportions every time
- • Try different expressions instantly
- • Use as reference for your own drawings
- • Create professional results in seconds
AI-Generated in 5 seconds
Perfect for reference!
✨ Use these AI-generated faces as drawing references or final artwork
Ghost Face Drawing Questions & Answers
What makes ghost face drawing different from regular portrait drawing?
What drawing tools work best for ghost faces?
How do I make my ghost faces look more professional?
Should I use color in ghost face drawings?
How long does it take to get good at drawing ghost faces?
Can I develop my own ghost face style?
More Advanced Ghost Art Techniques
Ready to Master Ghost Face Drawing?
Start practicing these advanced techniques today. Remember, every professional artist started as a beginner. Keep drawing and you will improve.